4 tips for using a design kit
A Design Kit is a great way to add some color and fun designs to your photo! Here are four things you may not have noticed about the app that could help you when making your next design:
1
swipe up to reveal a bigger menu
No need to scroll through all of the designs, stickers, and fonts. When you open a pack, just swipe up from the menu and see a larger view.
2
choose any color in your photo
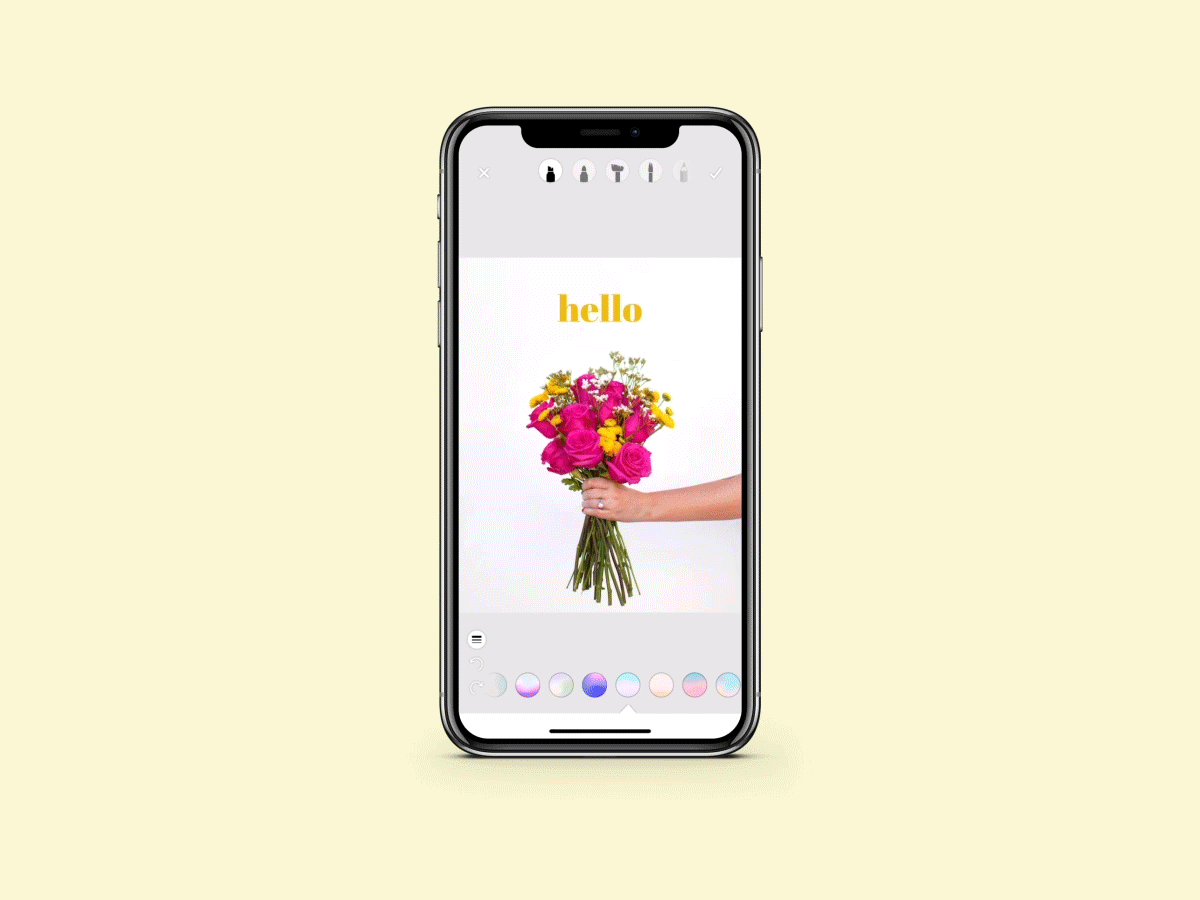
This is perfect if you’re wanting your text, designs, or doodles to match a certain color in your photo. When in the color picker, slide your finger around your photo to find a specific color.

3
move around layers in the layers menu
When dealing with multiple layers, you probably already know about the ‘move forward’ and ‘move backward’ buttons at the top of the screen. If you have a lot of layers, tap the hamburger icon in between the undo/redo buttons to reveal a layers menu. From there, hold down on a layer and move it up or down to move it in your design. (Whatever layer is at the top of the list is the one furthest behind in the design)
4
draw big and scale down
If you want to get the most out of our textured backgrounds and gradients, try writing bigger. This will spread further across the background and show more color. Once you’re done with your drawing you can scale it down to fit your design.
Hopefully these quick tips help you out when you’re playing around in the app!